Sunday, November 22, 2015

Starting Up - Part II


This post is continued from the most previous post.  I was having many problems adding in my pictures.  So instead of fighting with it anymore, I just created a new post instead of re-creating all of what was already finished.  Sorry for the inconvenience.

Therefore.....continuing on....

Preparing for the new ducts.
(Southwest room - main level)

Tearing out all that lovely plaster.
(Southwest room - main level)

A lot of paneling from the kids' rooms.  Finally paneling-free in this house!

Putt Putt has sure been useful for many things around here.

I don't remember if I've shared these before, but this was the wallpaper behind all of the paneling.
Found in southeast room.
Found in northeast room.


I don't want to say the newest company that provided their heating services.  They did a good job, except for this part.  See below.  It was a good thought to protect our new floors and stair treads.  However, they did not use the correct covering and when this was pulled up, it took some of our finish with it.  :-(  Just another hiccup that we're still working on.


New air return.


New heat/ac vents were added in each room.


The room below is the southwest upstairs room.  Will be new  home to master bathroom.


Pictures below are getting the northeast room ready for new windows.  The area to the left never had a window, but with the help of Jason Cooper, Cooper Construction, we were able to have the windows installed.


Window is ready and waiting.


Window SO much nicer!


These windows are in and we are ready for drywall in this room.

Check out this video of the first awning window space being cut out.


The rest of the rooms were basically the same.  Everybody got two new windows.  See pictures below.
Northwest room.  Almost a mirrored image of the southeast room, except window doesn't come down as low due to the fact of the addition's roof on the other side.
Southeast room, before.

Southeast room; one window installed.


Once the east window was out, they were able to bring the drywall right through that window opening.


The picture above gives you a first glance at the attached master bathroom.  This is just the opening.  Framing pics to come.

Carlee's room stocked with drywall.

Carter's room stocked with drywall.

I think we're ready for drywall!


Starting Up - Part I

Like last summer, we were very busy with the kids and their activities.  It was Carlee's last year of T-ball before she moves onto softball league next year.  It was also Carter's last year of playing in the minor baseball league.  Next year, he will move onto the major league.  So after all this excitement was over, we decided to try and squeeze in some remodeling.  Originally it started out as just the master bedroom and just adding one window in Carlee's room.  Being that we were doing the master bedroom, we thought adding in Carlee's east facing window would make the outside look a little more balanced as far as the windows go.  All of sudden, plans were turned upside down and we decided to hit the whole upstairs at once, which includes everyone's rooms and the master bathroom.

Next thing I knew, six new windows were ordered (two for each room).  Therefore, the demolition began and we are focusing on the whole upstairs.  We want to get the bedrooms completely redone.  Being that we will be making a a mess already in the master bedroom, we decided to partially start the master bathroom as well.  (This project is getting bigger and bigger.)  Although, when we have the master bedroom finished, we don't really want to create a huge mess in our room again with the newly refinished floors, so we're going to do the drywall and floors as well.  We plan on leaving the main fixtures for later.  As long as we get the rough-in plumbing done, the drywall, and the main floor done, then we will focus on the rest later.

Here are just a few "before" pictures.
This would've been a picture taken shortly after we moved here of Carlee's room (AKA northeast bedroom).  We already took out the carpet and painted over the paneling.  I'm sure I have a picture somewhere.


Found one! See the pic below. Doesn't show the whole room, but you can obviously tell Carlee wasn't happy about her room ONE BIT!  LOL
(Northeast Bedroom) 


Just a more recent picture of Carlee's room.
This one shows the where a hole was cut into the ceiling  to install a heat duct./AC supply. (Happened in August 2015)
(Northeast bedroom)


 Carter's room (northwest room)

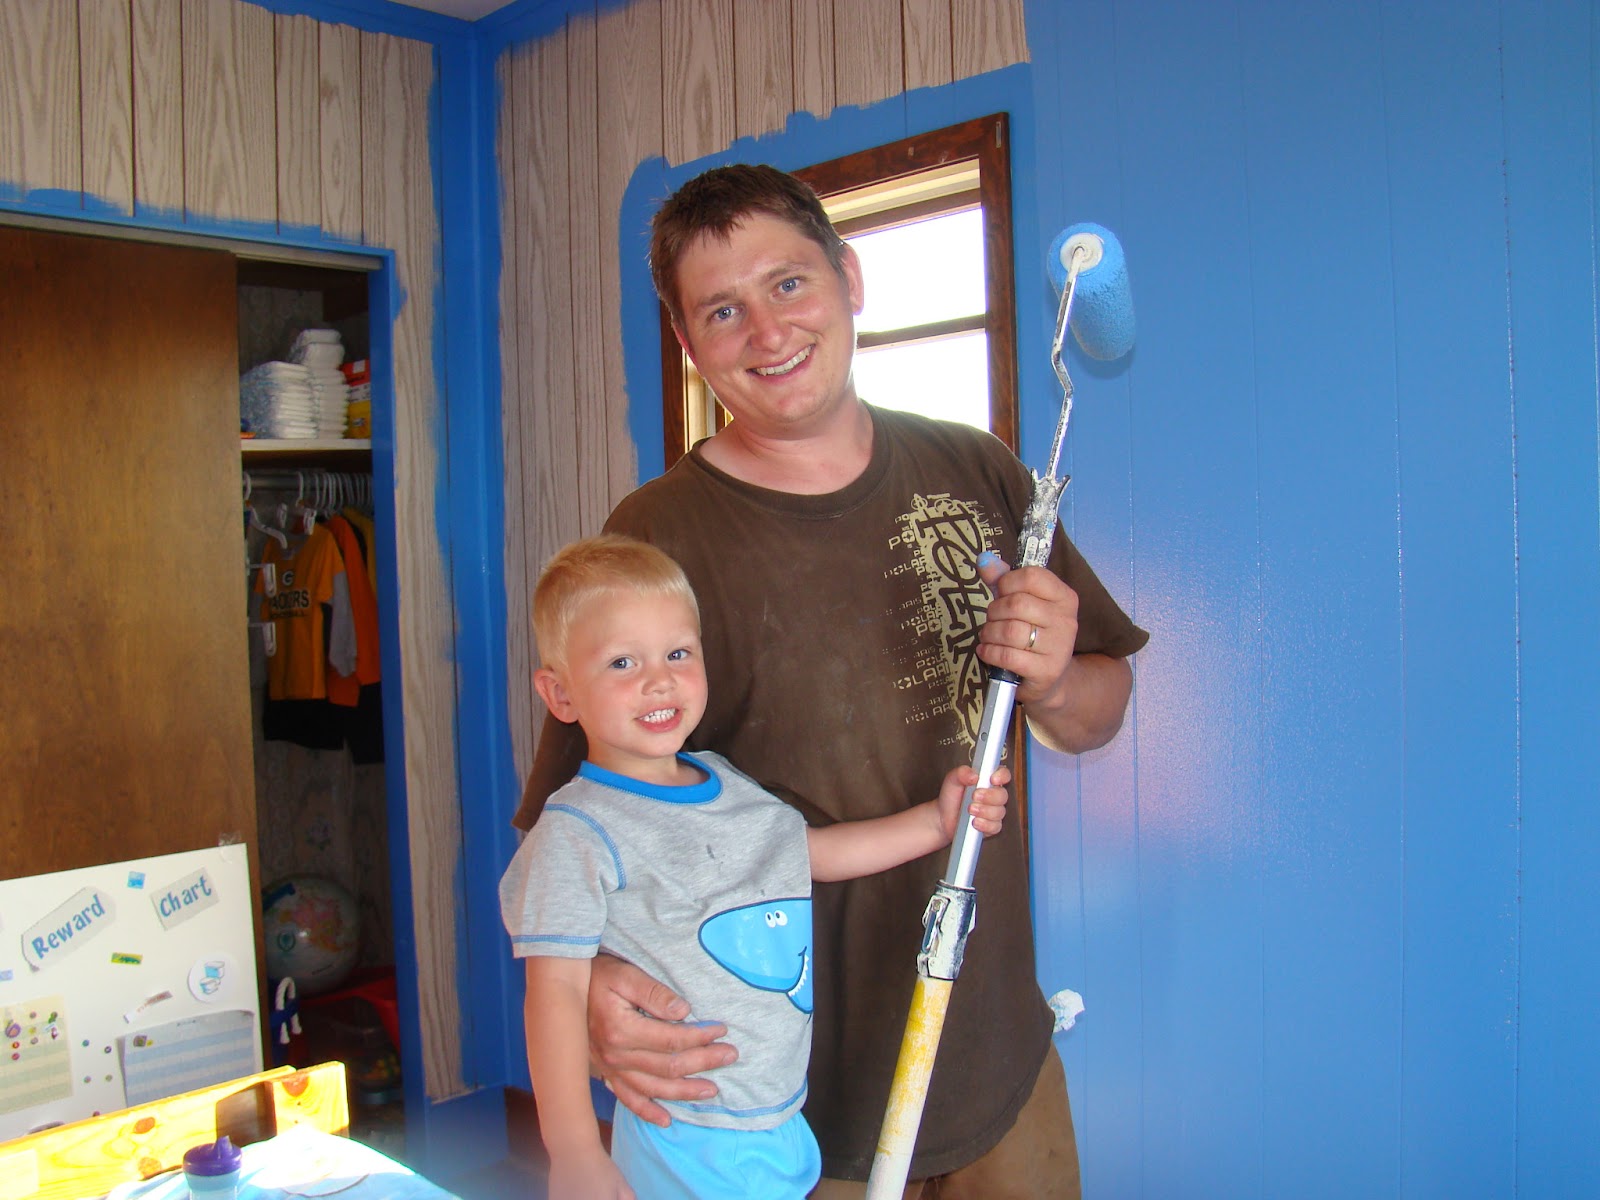
This was Carter's room being painted a LONG TIME AGO! (2009)  Look how small Carter was!


This is what it looked like after we recently took the paneling off.  We let everyone stay in their rooms as long as possible.

And of course, this is what the outside looked like just a few months ago.  Focus on the windows because that is all that was updated.


Now onto the messy pictures.  In order to do what needed to be done for the furnace and the rough-in for master bathroom, we had to tear apart the main level southwest room.  Bye bye suspended ceiling.  Hello high ceilings again!


More plaster gone


The format of this post keeps fighting with me on pictures.  I'm going to go ahead and create a new post and continue from there.  Hopefully that will get rid of the problem I'm having.


Tuesday, November 3, 2015

Early 2015


Starting in early January, we ordered some door, window, and base trim.  Thanks to Jason Cooper, Cooper Construction.  He spent many hours cutting all of these layers.  But look how nice it looks!  We have yet to putty in the nail holes, but in time it'll all get done.  Mostly all the trim was finished.  Only showing a few pictures here and there.

Northeast window (Office)

Southeast window (Living Room)

Door trim and base trim finished

More base trim

Window trim.  It's so pretty, I decided I can't add curtain rods and cover up all that beautiful wood work.  I'll have to figure out a different option.


Finding the right vents was quite the job.  Nothing fit our openings.  Jay found a guy that custom made our vents, DJ's Metal Art in Withee, WI.  They really fit the style that we were looking for.


Next up is what all started in August.  Hoping to get back to the blog soon!


Tuesday, September 15, 2015

What Happened in 2014?

I know it seems like it's been quite a while since the last post.  It's because it HAS BEEN!

For Mother's Day 2014, I got to choose my own gift.  Therefore, I decided on a linen closet door for the bathroom downstairs.  Every mother's dream! LOL  But I still decided that I wanted something for the house.....another beautiful door from Modern Builders & Suppliers that we are very happy with.  The door feels so nice and sturdy when you open it.  Unlike some of those you may find at the box stores for a lower and CHEAPER price.  You get what you pay for! And you can't beat the service we have received.  Norb knows our house inside out!

Downstairs Bathroom Linen Closet Door

Not long after that, the remodeling juices were flowing and Jay got the itch to start again.  By the end of May, we finally started the flooring in the upstairs hall.  Up to this point, it remained just the subfloor (for 4 months).  The kids learned to make sure they picked up their feet or they'd end up with slivers.  They did learn....

Nailing the floor

Carlee taking front seat to see all the action.  Although she thought it was quite loud.


Getting closer to finishing.

Working on the transition strip between the laundry room and hallway.

Look at the craftsmanship here.

Two proud boys.


All done.  Look how beautiful it is!


I like to reference this picture again because it somewhat shows the hallway at the top of the stairs.  See how the wall is rounded?  That's where the closet for the bedroom on the left was located at.  They used the space from the hallway.  It was different than anything I'd ever seen before.  Unique, but now it looks like ↓.


The next few months were consumed of T-ball for Carlee and baseball league for Carter, so nothing was done until September rolled around again.  The front door we picked out (and got a pretty good price on) was not painted in the interior part.  Therefore, it looked like ↓.  (The best picture I can find right now, which was taken during our first phase back in summer of 2012). Kind of a tan color, but definitely didn't look like a "finish" color.  Therefore, that's most likely why we got a good price.


We decided to finally have it stained.  Matt Stankowski with Old School Painting out of Mosinee came in and did this for us.  It's amazing!  You'd never be able to point out that it wasn't done at the factory.  He did a wonderful job for us.
 

Fast forward another couple of months and we're into November. We have had the laundry sink in our garage since 2012.  We just never got around to adding a counter top and putting it in.  So here we go...
He has it all marked off where he think it should go.

We only get one chance here.  Make sure it's right, Jason.

Time to see if the cut was right.
Will the sink fit?
Voila!
Nice job!  Never doubted you for a second!  ;-)

I think I pretty much caught up with 2014.  Now that we're closing in towards the last part of 2015, it seems like this was SO long ago.  Time flies!

I plan on catching up with what's happened in 2015 very soon, so check back in.


Thursday, January 2, 2014

Staircase

Just a few more pictures of the most recent project.  This house really deserved this beautiful staircase!